Jenkins is swiss army knife of CI tools out there and the best part its free and open source. It can help you build your CI pipeline in minutes. It can be customized with many plugins and made to do unit testing, running build scripts, automation of deployments and much more. This post covers how jenkins can be used to build docker images.
- The post assumes we have a working project with Dockerfile sitting on git. Here are the main components of this tutorial:
-
- Docker running on host machine (i have docker v19.03.5 running on my Macbook)
- Installing Jenkins image and running Jenkins CI on docker container
- Installing jenkins plugin used as Docker agent for building and launching docker containers.
- Configuration - connecting everything together.
1. Installing Docker on host
Installing docker is very easy, just follow the instructions on docker site and install the compatible version with your operating system. After this is installed we should have a docker running on what we call the host machine.
2. Setting up Jenkins CI
Setting up jenkins as a container is better than setting it on our host as a separate installation than docker. Lets install the alpine version of jenkins and attach it a directory which will be acting as volume, so that we do not loose the settings in case the container is shutdown or restarted.
docker pull jenkins/jenkins:alpine
docker run -d -u root --name jenkins -p 8080:8080 -v /Users/rmatharoo/jenkins/jenkins_home:/var/jenkins_home -v /var/run/docker.sock:/var/run/docker.sock jenkins/jenkins:alpine
So this above command pulls down a jenkins alpine image and then we start a Jenkins container with jenkins_home attached to our Docker hosts directory where we will have all our jenkins configuration saved safely. Also there is another attached volume -v /var/run/docker.sock:/var/run/docker.sock which allows our jenkins container to talk with our docker on our host machine, this is very important. Lastly we just specify the name of our pulled image. Its that easy to setup jenkins on our machine with docker no need to worry about running packages, editing configs and commands.
Once the jenkins container start we can login to jenkins ci on our browser by going to localhost:8080.

The first time we login it will ask for a password key which can be found if you run docker logs jenkins. This will show the startup logs of the jenkins container and you can copy the key then login with admin on the browser. When initializing for the first time you can go with installing the suggested plugins or can even skip that and just install what you need, we will be using Docker and git for this setup.
3. Installing Docker plugin
To install the plugin go to Manage Jenkins > Manage Plugins > Available. Now search for docker and enable Docker plugin then Install without restart.

In case you don’t have git installed on jenkins by default install that plugin as well.
4. Configuration and connecting things together
Now to configure we will be:
- Configuring Docker plugin, connecting it with our host machine, assigning docker agent image so that it can spin up containers on our host.
- Creating a project in Jenkins which will be building our git project with Dockerfile.
Configuring docker plugin and docker agent
Go to Manage Jenkins > Configure System. Scroll to the bottom of the page, under cloud(might take you to a separate page). Give a name to your cloud. Next for Docker Host URI which is the tricky one if you are using the MacOS as OS you have to specify the tcp port listening at port 2375 of your docker host. By default docker on mac does not listen for connections on port 2375, so you can install socat and run:
brew install socat
socat TCP-LISTEN:2375,reuseaddr,fork UNIX-CONNECT:/var/run/docker.sock &
This will allow your docker socket to listen on tcp 2375.
We can now put Docker Host URI as tcp://host.docker.internal:2375 and if we test connection it should show the docker version.

For ubuntu linux as host you can edit docker.service with sudo systemctl edit docker.service
and add following lines:
[Service]
ExecStart=
ExecStart=/usr/bin/dockerd -H tcp://127.0.0.1:2375 -H unix:///var/run/docker.sock
Then restart the docker daemon with sudo systemctl daemon-reload.
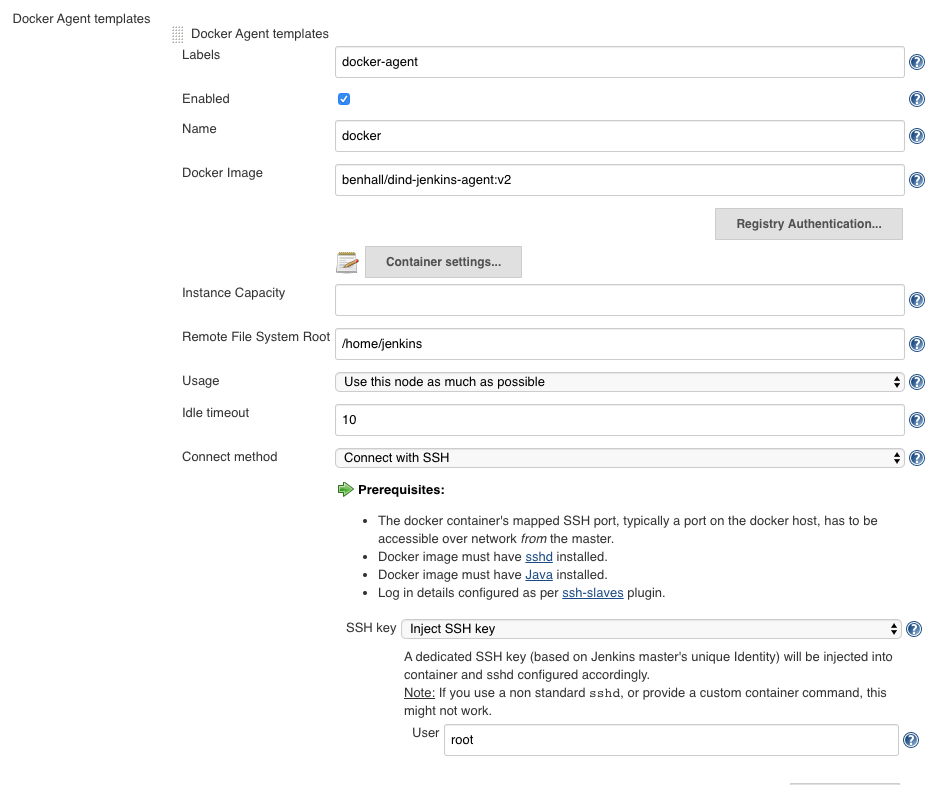
- If test passes now define our Docker Agent template by clicking on
Docker Agent templates... - Assign the agent a label like
docker-agent, we will need this when we create jenkins project for building. - Assign
Docker Imageasbenhall/dind-jenkins-agent:v2. - For connection method select
Connect with SSH. - Make sure we enable the configuration
The configuration should like this at the end:

Save the configuration. Done.
Creating project
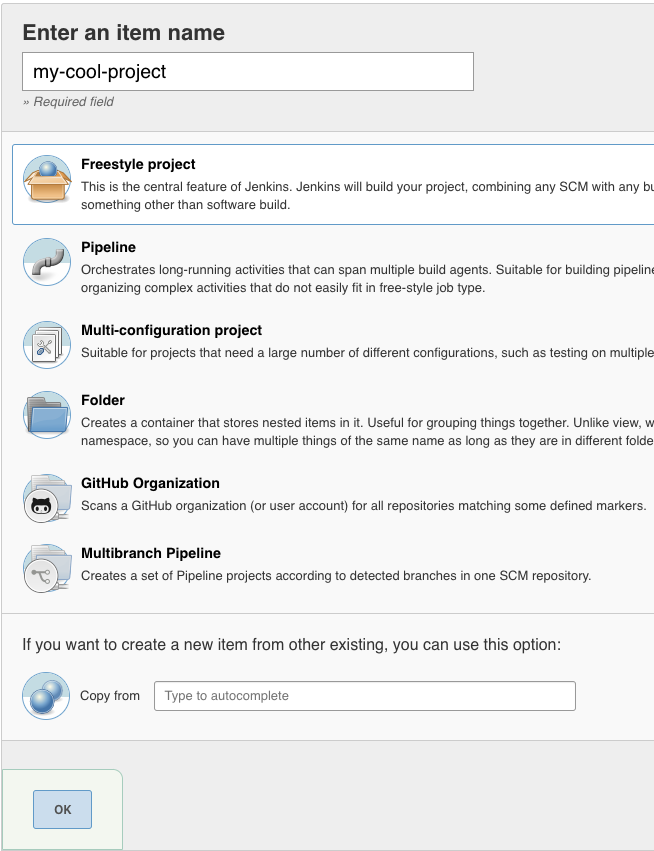
Now go to home page of jenkins and click on Create new project and Create a freestyle project.

- Enable the option
Restrict where this project can be runand put in the label asdocker-agentas we specified in our docker agent template. - For project source we need to specify our git repository and make sure jenkins can download the project. I used ssh key for my setup.
- Add a build step and choose
Execute Shell. Now you can specify the shell commands to execute the build process of our image, including tagging and can even add pushing to the docker registry hub.
docker build -t <imagename>:${BUILD_NUMBER} .
docker tag <imagename>:${BUILD_NUMBER} <imagename>:latest
# can also add pushing to docker hub repo commands....- We have tagged the build with the Jenkins build variable which will be incremented every time we build the project and will create a new tag image wi.
- Save the project and click on
Build Nowon the left side bar to initiate the first build.

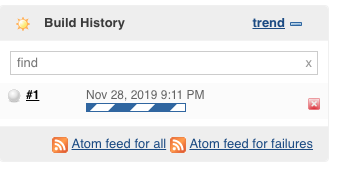
If the build is success you should see blue ball like

Now jenkins should have built a new image and can be seen by running docker images

The first time we run build it might show pending—Jenkins doesn’t have label docker-agent, it takes some time for the first build to happen as it downloads the images and builds the project. It should go away soon. To check for any errors you can also run docker logs jenkins which will show the logs of the Jenkins CI container we are running and to help you debug.